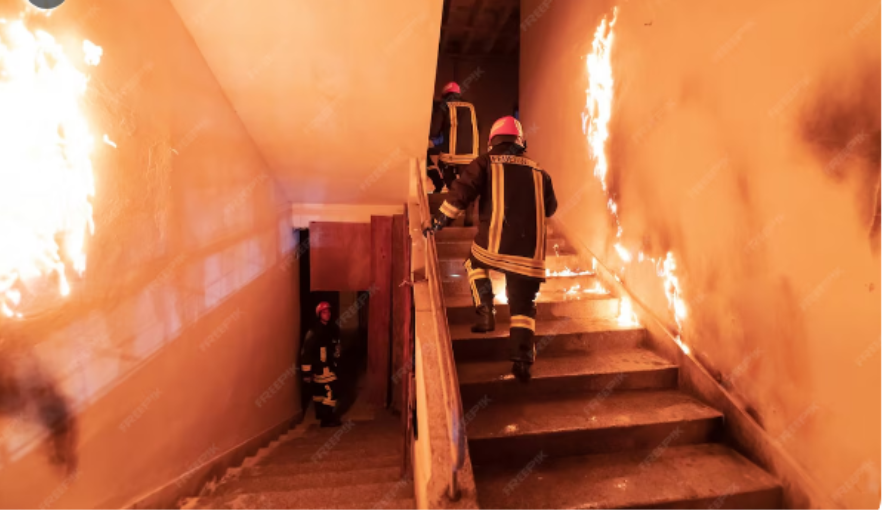
Experiencing a fire is overwhelming, and knowing what to do next can feel impossible. This is exactly why a fire damage restoration checklist is essential. The first 24 hours after a fire are the most critical for preventing further property damage, ensuring safety, and beginning the restoration process. With the right steps, you can protect your home, reduce smoke and soot impact, document damage correctly, and manage insurance claims with confidence.
In this detailed guide, you’ll learn every essential step to take immediately after a fire — from property safety checks to smoke cleaning, soot removal, and connecting with qualified restoration professionals. This checklist is designed to help homeowners act quickly, stay organised, and avoid costly mistakes during the recovery process.
Why the First 24 Hours Matter After a Fire
In the first day after a fire, your home is at risk of additional damage from smoke, soot, moisture, and structural weakness. Even small fires leave behind harmful contaminants that spread quickly. Acting fast helps prevent:
- Permanent staining from soot
- Strong odours from smoke
- Water damage from firefighting efforts
- Mold growth
- Structural deterioration
Following a fire damage restoration checklist ensures you minimise long-term damage and begin the restoration process smoothly.
Confirm Safety Before Entering the Property
Before taking any action, make sure the property is safe. Fires can weaken floors, ceilings, and foundations. Additionally, soot and smoke residues may release harmful chemicals.
Steps for Ensuring Property Safety
✔ Wait for official clearance
Only enter after firefighters or authorities confirm the property is safe.
✔ Wear protective gear
Use gloves, masks, eyewear, and long sleeves to avoid contact with soot and chemicals.
✔ Turn off utilities
If safe, shut off electrical, gas, and water systems to prevent further hazards.
✔ Beware of hidden dangers
Fires often leave behind:
- Sharp debris
- Weak structures
- Contaminated air
- Hot spots
A safe inspection is the foundation of the entire fire damage restoration checklist, ensuring you don’t put yourself at risk while assessing the damage.
Document the Damage for Insurance Claims
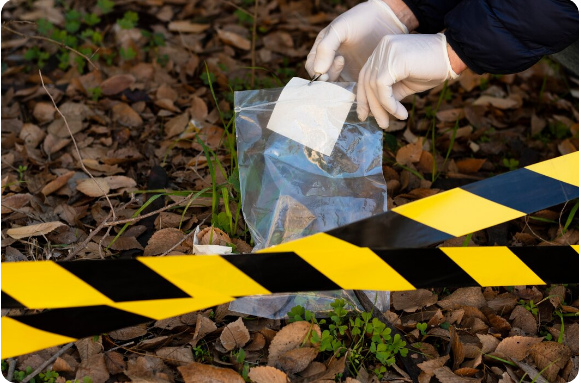
Insurance claims require strong documentation. In the early stages, you need to capture clear evidence before cleanup begins.
How to Document Effectively
- Take photos and videos of every damaged area, including walls, furniture, appliances, ceilings, and personal belongings.
- Document from multiple angles to give your insurer a complete picture.
- Make a list of damaged items, noting brand names, purchase dates, and estimated values.
- Do not throw anything away until your insurance provider gives approval.
Because insurance claims can become complicated, thorough documentation speeds up the assessment and ensures you receive the compensation you deserve.
Contact Your Insurance Provider Immediately
After documenting the damage, reach out to your insurer as soon as possible. Quick communication helps you move forward with emergency services, temporary accommodation, and the restoration process.
What to Discuss With Your Insurance Provider
- Coverage limits
- Emergency housing options
- Approved restoration companies
- The claim filing process
- Deadlines or required documents
Understanding your policy early makes the rest of the fire damage restoration checklist easier to follow. Most policies cover smoke cleaning, soot removal, and structural restoration, but verifying this upfront prevents surprises later.
Secure the Property to Prevent Further Damage
Once authorities confirm your home is safe to enter, you must secure it. This step protects your property from weather, theft, and additional deterioration.
Ways to Secure Your Fire-Damaged Home
- Board up broken windows
- Cover damaged roofs with tarps
- Block unsafe entry points
- Lock doors and gates
- Secure valuable personal items
Weather exposure can worsen damage, especially if the roof or walls are compromised. With quick action, you can avoid added restoration costs and strengthen your insurance claim by showing responsibility.
Begin Professional Smoke Cleaning
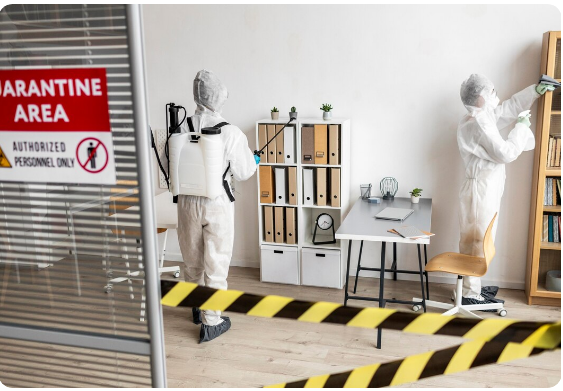
Smoke damage spreads throughout the home, even into areas untouched by flames. Because of this, smoke cleaning must start early. Delays allow residues to embed deeper into walls, fabrics, and surfaces.
Why Professional Smoke Cleaning Matters
Smoke particles are acidic and cause:
- Odours
- Stains
- Corrosion
- Health hazards
Professional cleaners use specialised methods such as:
- Thermal fogging
- Ozone treatment
- HEPA filtration
- Chemical sponges
Attempting DIY smoke cleaning without proper tools can push smoke deeper into materials. A restoration company will remove smoke odours and contaminants safely and thoroughly.
Start Soot Removal to Prevent Long-Term Damage
Soot is one of the most destructive by-products of fire. It spreads through vents, ducts, and air systems, settling on surfaces throughout your home.
Why Soot Removal Is Critical
If not removed quickly, soot can:
- Permanently stain walls and ceilings
- Damage metal and electronics
- Irritate lungs and skin
- Cause foul odours
- Embed into carpets and upholstery
Professional soot removal is essential because experts use tools and techniques that avoid smearing or spreading soot further. They also test surfaces first to prevent additional damage.
Dry Out Water-Damaged Areas
Most fires require extensive water to extinguish. This leads to soaked carpets, walls, floors, and belongings. Moisture becomes mold within 24–48 hours if not addressed immediately.
Steps for Quick Water Removal
- Use industrial-grade pumps
- Deploy air movers
- Run dehumidifiers
- Remove wet furniture and materials
- Inspect hidden moisture in walls and ceilings
Water removal is one of the most overlooked yet essential steps in the fire damage restoration checklist.
Remove Damaged Items and Begin Sorting
While professionals handle structural restoration, you should begin sorting belongings. You will separate items into categories:
- Salvageable
- Non-salvageable
- Needs professional cleaning
Items Often Salvageable After a Fire
- Metal items
- Glass
- Hardwood furniture
- Some electronics (with professional assessment)
- Solid wood tables
Items Usually Lost in Fire Damage
- Burned textiles
- Melted plastics
- Severely smoke-damaged bedding
- Contaminated food
- Porous items exposed to toxic smoke
Keep all unsalvageable items until your insurance adjuster reviews them.
Understand the Full Restoration Process
The full restoration process goes beyond cleaning soot and smoke. It involves structural repairs, rebuilding, and making your home safe again.
Typical Steps in the Restoration Process
1. Inspection and assessment
2. Removal of debris and damaged materials
3. Deep cleaning and deodorising
4. Water extraction and drying
5. Soot and smoke cleaning
6. Sanitising and air purification
7. Repairs and reconstruction
8. Final inspection
A certified restoration company ensures every step is handled safely and efficiently.
To learn more about professional restoration services, visit:
Hire a Professional Fire Damage Restoration Company
While some tasks can be done independently, most of the restoration process requires specialised skills, equipment, and certifications.
Benefits of Hiring Professionals
- Advanced cleaning tools
- Industry-approved safety methods
- Faster restoration timeline
- Better insurance claim support
- Deep cleaning for smoke and soot
- Structural repair experience
- Prevention of long-term odour and mold issues
Your home deserves proper restoration, and certified professionals ensure the process runs smoothly.
Review Your Insurance Claim Progress
Throughout the process, stay in communication with your insurer. Track deadlines, required documents, and progress updates.
Helpful Tips for Managing Insurance Claims
- Keep a binder or digital folder
- Save all receipts
- Record all phone calls
- Request written approvals
- Stay organised to avoid delays
Insurance claims after fire damage can feel complex, but with proper documentation and communication, you can move through the process confidently.
Plan for Repairs and Reconstruction
The last phase of the fire damage restoration checklist includes structural repairs and rebuilding. Your restoration company will advise you on what needs replacement versus repair.
Common Repairs After a Fire
- Roof repairs
- Wall and ceiling replacement
- Electrical rewiring
- Painting and refinishing
- Flooring replacement
- Rebuilding damaged rooms
This stage brings your property back to pre-fire condition — and in many cases, improves it.
Final Thoughts
Recovering from a fire is challenging, but having a clear fire damage restoration checklist helps you act quickly and confidently. With proper smoke cleaning, soot removal, insurance claim management, and the help of trained professionals, you can restore your property safely and efficiently.
Contact Us For More
FAQs: Fire Damage Restoration Checklist
1. What is the first thing I should do after a fire?
Ensure your safety, wait for official clearance, and begin documenting the damage for insurance claims.
2. Why is soot removal important?
Soot causes permanent stains, odours, and health risks. Quick professional removal prevents long-term damage.
3. How long does fire restoration take?
Most fire restoration projects take several days to several weeks, depending on property size and damage severity.
4. Does insurance cover smoke cleaning?
Most policies cover smoke and soot cleaning, but coverage varies. Always confirm your policy details early.
5. Can I clean fire damage myself?
DIY cleaning often spreads soot and worsens damage. It’s safer and more effective to use professional restoration services.
6. What should I not do after a fire?
Avoid using electrical appliances, touching soot-covered surfaces, or entering the property without clearance.